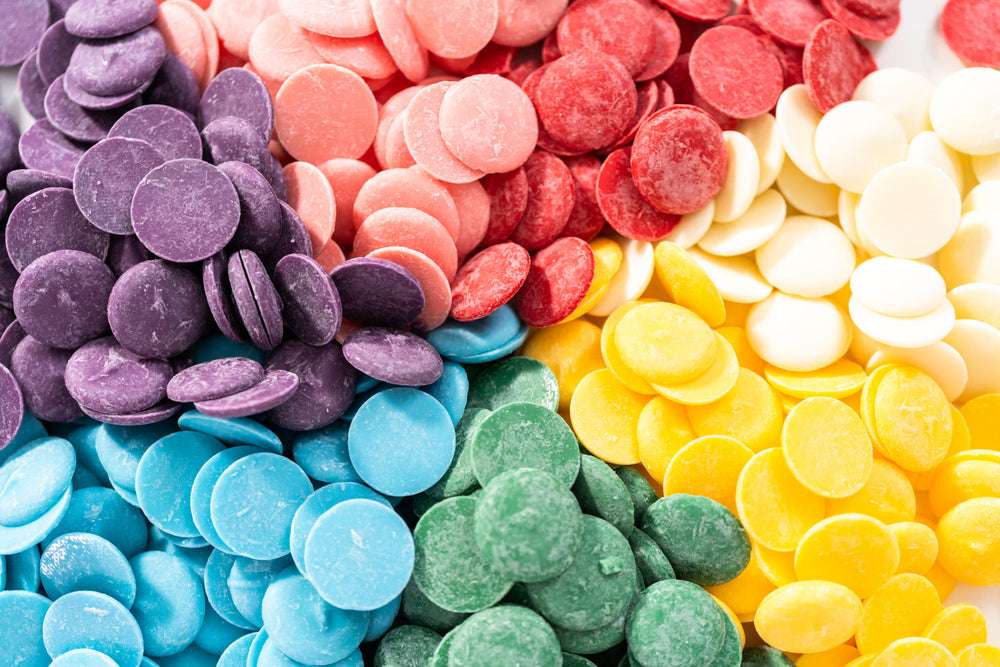
Working With Chocolate
Whether you're a beginner or an experienced chocolatier, working with chocolate can sometimes be tricky. Below are some common questions and helpful tips on melting, coloring, and flavoring chocolate to ensure smooth, delicious results every time.
How do I melt candy wafers in the microwave?
We recommend using a plastic or silicone bowl when melting chocolate. Avoid glass or ceramic bowls, as they retain heat and can cause the chocolate to overheat, making it unusable. These materials are also more difficult to clean. Patience is key to avoiding overheating—if you want perfectly melted chocolate, melt it slowly and keep the temperature below 90°F.
Here’s the method we suggest:
- Microwave for 30 seconds at 50% power, then remove and stir.
- Microwave for another 20 seconds at 50% power, then remove and stir again.
- Continue microwaving in 10-20 second intervals, stirring in between, until the chocolate is fully melted.
How do I melt candy wafers on the stove?
To melt candy wafers using a double boiler, fill a pot halfway with water and place it on the stovetop. Use a thick glass or metal bowl that fits snugly on top of the pot but make sure the bottom of the bowl does not touch the water. Heat the water to a gentle boil, ensuring it doesn't come into contact with the bowl to avoid burning the chocolate.
Once the water reaches a light boil, place the bowl with the wafers on top of the pot and stir continuously until about 75% of the wafers are melted. Then, remove the bowl from the heat and continue stirring until fully melted. Use a thermometer to make sure the chocolate stays below 90°F.
Can you add food coloring to candy melts/chocolate?
Yes, you can color chocolate, but it's important to use either oil-based or powdered food coloring—both of which Fran's carries! Avoid using water-based food coloring, as it will cause the chocolate to seize, becoming lumpy and unusable.
For best results, we recommend starting with white chocolate or candy wafers, such as Mercken’s Rainbow White, which don't have any coloring added.
Can I flavor chocolate?
Yes, many of our LorAnn Flavor Oils can be used to flavor chocolate or candy wafers. All of our flavor oils are perfect for adding flavor to ganache or candy centers as well. Our team is happy to help you choose the right oils for flavoring chocolate directly.
When adding flavor to chocolate, we recommend using ¼ to ½ teaspoon of flavoring per pound. Stir the flavoring into the chocolate after it’s melted or tempered, and always start with a small amount, adding more as needed to achieve your desired taste.
What do colored candy melts taste like?
Mercken’s colored, candy wafers are smooth and creamy with a vanilla flavor with no waxy taste like some other brands.
How do I store chocolate?
It is best to keep chocolate at room temperature, fully wrapped and away from heat and water. Keeping chocolate in the refrigerator is not recommended as it will introduce moisture to your chocolate, which is not ideal.
Does chocolate go bad/expire?
Technically, candy wafers don’t have an expiration date. They contain various vegetable fats, some of which may spoil over time while others will not. We recommend using your candy wafers within 4-6 months for the best quality. Although they remain edible, the longer they're stored, the more likely they’ll be affected by humidity or moisture, which can cause melting and texture issues. If the wafers become less ideal for certain projects, they can still be enjoyed in brownies, ice cream, or as a sweet snack
How do I use a chocolate mold?
Making molded chocolates is simple once you know how to use a chocolate mold! Our wide selection of plastic molds offers endless possibilities for party favors, birthday treats, and more. Mercken’s Candy Wafers are rich, creamy, and melt easily, making them perfect for chocolate molds—no tempering needed.
Here’s how to use them:
- In the microwave, melt the candy wafers in a disposable pastry bag (place a paper towel underneath to catch any drips). Microwave in 20-30 second intervals at 50% power, gently moving the wafers in the bag between intervals to distribute heat evenly.
- Once melted, snip a small opening at the tip of the bag—just large enough for the chocolate to flow smoothly, but not so big that it oozes out. Alternatively, you can use a spoon, though it may leave excess chocolate on the edges, which you’ll need to clean up with a paring knife.
- Carefully fill each cavity of the mold with melted chocolate, making sure not to overfill. Tap the tray lightly on your workspace to release any air bubbles.
- Place the mold in the refrigerator, where the chocolate should set and harden in 10-20 minutes.
- Once hardened, gently flip the mold onto a paper towel. Keep it close to your workspace and tap lightly if the chocolates don’t release right away. If needed, place the mold in the freezer for up to 5 minutes to help with release. Sometimes, they just need to be extra cold!
How do I thin melted chocolate?
You can thin chocolate by adding more fat. Here are a few ways to do it:
- Paramount crystals: These are small chips made from various oils that can help thin melted chocolate. For every cup of chocolate, add one teaspoon of paramount crystals and stir until fully combined.
- Cocoa butter: Grate solid cocoa butter into the melted chocolate. When only a few lumps of chocolate remain, add the grated cocoa butter one tablespoon at a time, stirring between additions, until you reach the desired consistency.
- Oils: Add canola oil, coconut oil, or vegetable oil to chopped chocolate before melting. The amount you add depends on the consistency you need—add more oil for drizzling and less for dipping. If the coconut flavor isn’t suitable for your recipe, choose a neutral-tasting oil instead.
- Vegetable shortening: Stir solid vegetable shortening into melted chocolate, making sure the shortening is at room temperature. Add it gradually to allow for even melting. Be careful, as too much shortening can give the chocolate a waxy taste.
Why is my chocolate not melting?
Chocolate is made up of fat and dry particles. When melted, these ingredients combine smoothly. However, when chocolate comes into contact with water, the dry particles get wet and clump together, forming a gritty paste. This happens because water combines with the sugar in the chocolate, creating a syrup that pulls in the cocoa particles, leading to a grainy texture. To prevent chocolate from seizing, it's essential to keep it away from any moisture. Always ensure that your bowls and utensils are completely dry, and avoid using wooden spoons or cutting boards, as they can retain moisture and transfer it to the chocolate.
If you're melting chocolate using a double boiler, keep the water hot but not boiling, or turn off the heat before placing the bowl on top. Boiling water can splash into the chocolate or produce steam that causes seizing. Be sure to wipe the bottom of the bowl to remove any water or condensation before placing it over the pot. Additionally, never cover warm chocolate with a lid, as condensation can form inside the bowl and drip into the chocolate, causing it to seize.
How do I fix overheated chocolate?
Just like with seized chocolate, overheated chocolate can often be saved. The first step is to cool it down, as it becomes harder to fix if it stays at a high temperature for too long. To cool it, remove the bowl from the heat, transfer the chocolate to a dry, cool bowl, and stir in a handful of solid chocolate wafers. Stir constantly, letting the solid chocolate gradually reduce the temperature.
If the chocolate is still thick or lumpy, try straining it through a sieve. If that doesn’t work, add a spoonful of vegetable oil or melted shortening and stir well. You can also add a few drops of soy lecithin (an emulsifier available at Fran’s) or use a handheld immersion blender to smooth the mixture. If none of these methods work, don’t throw it out! You can still use the chocolate in baking recipes.